3DICOM Viewer
Helping patients, practitioners, and researchers to add another dimension to medical imaging with a fully-interactive 3D DICOM Viewer for CT, PET, and MRI scans.
Available on Windows, Mac OS, iOS, Android and Virtual Reality
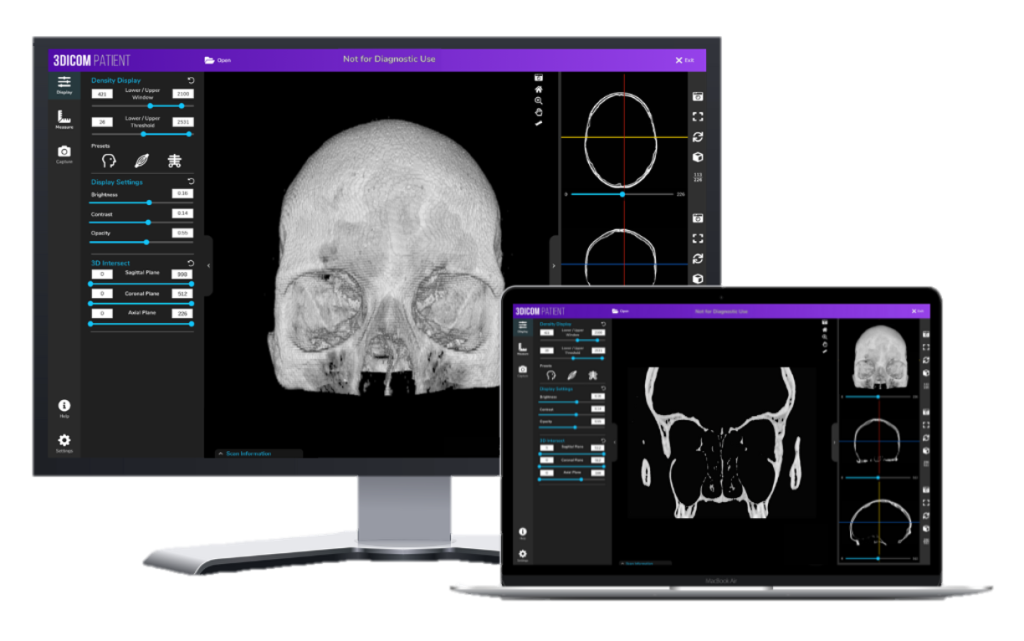


Our DICOM Viewer combines Functionality with Practicality on both Windows and Mac
Under development since early 2020, Singular Health’s 3Dicom software is a multi-tiered 3D DICOM viewer that allows for the rapid volume rendering of a 2D medical image into a fully-interactive 3D model of the patient’s specific anatomy.
All features in the 3Dicom Viewer software are available on both Windows and MacOS / OS X which allows the end user to view DICOM files with a consistent, intuitive user interface all in the same program.
We’ve optimised an on-device 3D volume rendering process to convert DICOM files from 2D to 3D in less than 90 seconds so that your medical data is securely processed on your own device rather than in the cloud.
Developed with physicians, surgeons, radiologists and medical device manufacturers in mind, 3Dicom offers all the standard medical image analysis tools such as multi-planar reconstruction (MPR), standard 2D views and windowing you’ll find in other commercial dicom viewers along with much more specific functionality for each end-users.
Watch the video to learn how we’re adding another dimension to radiology
Intuitive Layout & Powerful Features
We believe that sometimes, less is more.
The 3Dicom software features a modular design with common tools across all tiers, such as:
- Multiplanar Reconstruction (MPR) of DICOM data
- Rapid 3D Volume Rendering
- Interactive visualisation with rotation, panning and immersive zoom to view inside the 3D model
- Slice into the 3D anatomy in the sagittal (side-to-side), coronal (front-to-back) and axial (top-to-bottom) planes.
Empowering Patients & Practitioners Through Technology
Developed by Singular Health Group, our medical imaging technology is designed to achieve our vision of empowering patients & practitioners through technology that enables personalised healthcare.
Improved Patient Comprehension
Creating Patient Specific Anatomical Models
TeleHealth & Collaborative Surgical Planning
Integrated Artificial Intelligence Models
Patient
3D Image Manipulation & Visualisation
MD
Collaborative Medical Workflows & Analysis
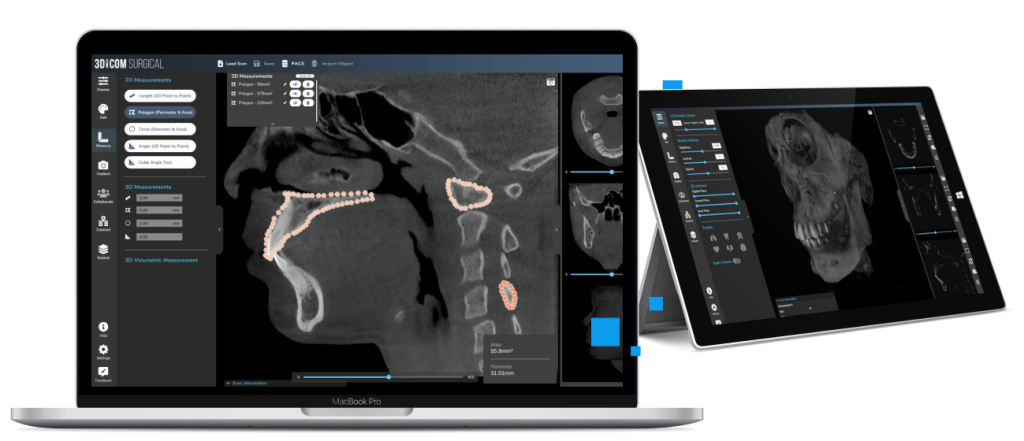
Surgical
Plan Surgeries & Export 3D Models to 3D Print
R&D
Medical Image Segmentation & AI Models
On-device DICOM image loading, local file storage & standard 2D views

Visualise CT, PET & MRI scans in 2D & 3D with the Rotate, Pan & Zoom tool
Intuitive HU Window Feature exposes internal anatomy & structures
Measure and annotate with industry standard tools in 2D

Integrates with local PACS systems for improved workflows
Conduct remote collaborative sessions with internal communication system
Segment specific anatomy and export to .STL files for 3D print
Import and visualise patient-specific implants and guides with MCAD
Perform in-silico testing of medical devices and test the output of R&D phase medical AI models
Educate med students & bio-engineers with real pathology & cases in 3D.