A DICOM (Digital Imaging and Communication in Medicine) file is a radiological medical image saved as “.dcm” or “dcm file”. This universally recognized format consists of both visual information collected from standard imaging radiology techniques such as Computed Tomography (CT), Magnetic Resonance Imaging (MRI), Positron Emission Tomography (PET), and identification data for the patient. This combination of image formats in the dicom file and visual information give the user individual access to analyse a CT scan, MRI scan, PET scan or any other desired scan that is compatible with a dicom file.
Given the complexity of this type of medical image format that combines both data and images in a single file, these documents cannot be opened as standard pictures from a Windows operating system but instead require a proprietary dicom viewer (commonly referred to as a dicom workstation) such as 3Dicom. 3Dicom provides users with a free dicom viewer called ‘3Dicom Patient’ however can upgrade their viewer to ‘3Dicom MD’ or ‘3Dicom Surgical’ to access tool and feature expansion.
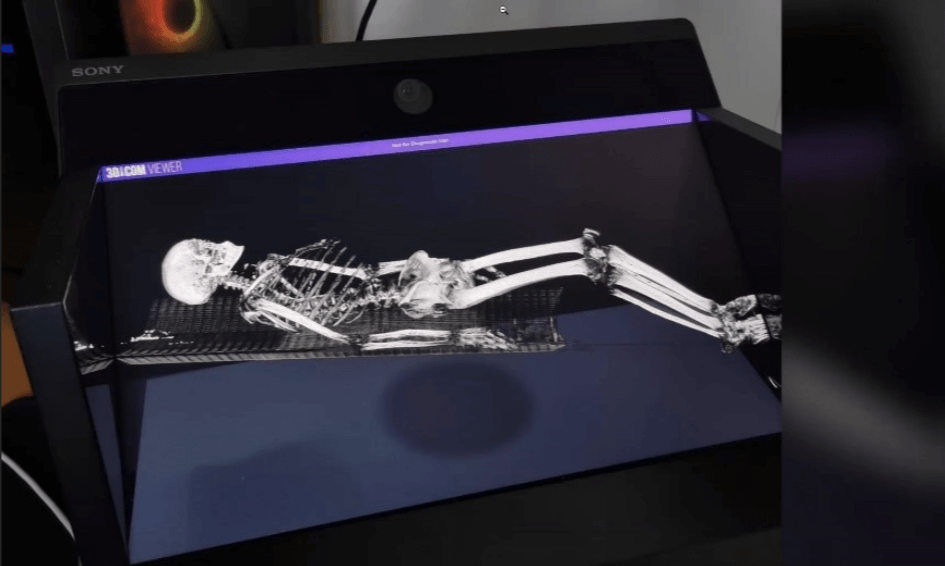
3Dicom enables the real-time conversion of DICOM medical images into a multi-planar reconstructed volumetric model of the anatomical region of interest. The software does not require an internet connection to operate unlike a common web based dicom viewer and is platform-agnostic, meaning that is compatible with both Windows and macOS. Moreover, the software has a range of tools that enable users to manipulate the image to obtain information about the spatial distribution of the anatomical region of interest and the surrounding tissue types and organs, as well as measuring and annotating key anatomical structures. In depth analysis of a medical image and a dicom file is crucial so the 3Dicom medical image viewer grants the user a large variety of tools and features to enhance their interpretation.
The processing of the DICOM image or DICOM file has been designed to be easy, fast, and user-friendly. After launching the software, the Load Scan feature will be available on the top left of the screen. By clicking on it, a new window will open providing the options to import files from the desktop, an external driver (CD-ROM or USB), or from a previously loaded and saved session. Once the preferred uploading form is selected and the medical image is retrieved, the software will automatically start rendering the medical scan, which comprises up to several hundred images. As a result, a single recognizable volumetric model is generated, which is already scaled and optimized for visualization and manipulation.
A step-by-step procedure to upload a DICOM file from your device is described below:
- Launch the 3Dicom software.
- Select “Load Scan” on the top toolbar.
- Select “Import DICOM” or “Load from CD/USB” to retrieve a medical image stored on your device or on an external device, respectively; non-DICOM format files, such as NII and/or JPEG2000 files can be uploaded by selecting “Open Other”; previously loaded and saved images can be accessed from “Load Session”.
- Select the appropriate Patient Name, Study Date, and Series Number.
- Wait a few seconds for the rendering to be completed.
You can see this process in the video below:
If you are interested in exploring all the features available in our 3Dicom viewer, download the software, load your DICOM and/or NII files, and explore all the possibilities offered by our 3D visualization and manipulation software for radiological medical images.