Good stuff!
Now that you have a 3Dicom account and seamlessly downloaded the software through the Singular Launcher, it is now time to load in your first medical scan into the dicom viewer. If you have not created a My Singular Health account to operate 3Dicom, you can view the informative article here. We also strongly recommend you also check out our previous article on how to download the 3Dicom dicom viewer through the Singular Launcher. You can also read the article here.
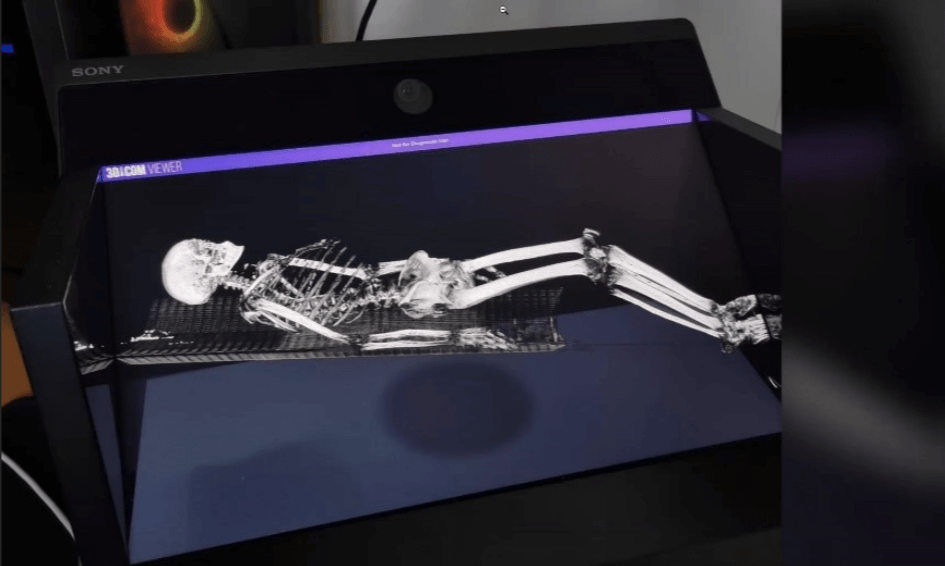
Now you have all the tools to begin your medical image analysis, let’s begin.
DICOM scans are highly accessible and can be downloaded off a number of sources from the internet. 3Dicom also gives you full accessibility, to upload your own personal DICOM file into the software. If you do not have access to a DICOM file or a DICOM image provided to you from places such as a medical or educational institution, or even a doctor, there are a number of other locations that we can download DICOM scans from.
1. Download your DICOM scan
The 3Dicom website has provided you with a number of scans which you can download onto your device for FREE. Yes, for free. These scans can be accessed via the DICOM Library in the ‘Support’ tab, or can be accessed here.
DICOM scans can also be downloaded from a number of Open Source repositories such as The Cancer Imaging Archive (TCIA), The National Institute of Biomedical Imaging and Bioengineering (NIH) or the Harvard University Dataverse. Other sources associated with radiology and medical imaging also may provide you with a dicom image file. These resources provide you with a number of DICOM studies that are downloadable; both free and paid accommpanied by the DICOM metadata, different series and the scan itself. These will typically be a CT scan, MRI scan or a PET scan.
For ease of accessibility, we will be using the ‘Covid19 CT Dicom Image’ found in the DICOM Library on the 3Dicom website.
Once we have accessed the DICOM Library, we will need to select download scan. After we are directed to the file with your selected DICOM scan, we will need to select download in the top left.
Please be mindful of the download time. Each scan differs in size and complexity, so please be patient if your scan is taking a while to download. Downloads will be typically be placed on your computers desktop, downloads file or OneDrive.
Sometimes when your dicom image file is downloaded, the different images will not be in a dicom format (.dcm) and instead a different image format such as .psd, .jpeg or .png. When we unzip the file, this will typically convert the file format to a DICOM file format.
If you have designated a specific location on your device as to where downloads will be located, note where this is!
Unzipping a file on Windows
Once our scan has been downloaded on Windows, we will typically have to extract the file if it is downloaded as a ZIP file or file extension. This is just a way of your computer compressing the size of the dicom data and file contents, due to the large size of the dicom medical images. If you are having difficulty extracting your scan file, we have provided a video below to guide you through the process.
Firstly, we will have to locate the downloaded scan. Once we have located the file, we will need to extract the contents. Simply right click on the file and select ‘Extract All’. This will unzip all the contents in the file to a specific location. If you are still having trouble extracting the contents, this article will guide you through the simple process.
2. Open 3Dicom through the Singular Launcher
Once your DICOM scan has been downloaded, now we have to open the dicom software otherwise we can not visualise our scan in 3D! If this is your first time opening 3Dicom, remember it is opened through the Singular Launcher. The Singular Launcher is our gateway to 3Dicom!
3. Import your scan
Your last step in viewing your scan is importing the dicom file into 3Dicom. This step is very simple and we have made this process as seamless as possible. The only thing you need to remember is where you saved the file that was downloaded and, then extracted (if applicable).
First, we need to select the ‘Import Dicom’ button in the top right. Once this is selected, a drop down window will appear displaying all of your computers folders and file locations. This is why remembering where you saved your scan file is important!
Once you have located your scan folder, simply click on it and press ok. Depending on your scan size and number of slices, the image processing time within the dicom viewer will differ, however this process is very fast and efficient. You may also have different series to select. These will be located in the series tab once your scan is selected.
Now you have successfully imported your first ever DICOM scan. Easy right?
If you are having trouble loading in a scan, which is rare, please make sure the scan you have downloaded is not corrupted or expired. Scans that are loaded in also must be unzipped before importing into the dicom software.
If you still can not load in your scan, please lodge a support ticket here.
You are on a roll! You have all the tools now to begin your full anatomical analysis. Let’s keep moving and find out how to update your account settings and reset your password!