What is a Hounsfield Unit (HU)?
A Computed Tomography (CT) scan comprises of many tens, if not hundreds, of seperate X-ray exposures which are acquired by the CT scanner and composited together to form a cohesive image of the subject of the CT scan.
With all these composited images being taken and meshed together, there needs to be a way to visualise the patient’s anatomy in a meaningful way that can be interpreted by trained radiologists and doctors. This is done by attributing different colour ranges to different tissue densities.
Different systems and anatomical structures of the body have varying levels of density (think of low-density fat compared to high-density bone) and thus the ability to identify varying density from the X-rays in a standardised manner heralded the invention of the CT scanner.
To determine the diverse tissue density, Sir Godfrey Hounsfield, amongst others, was able to measure the attenuation value (reduction in strength of a X ray beam) caused by absorption from different anatomical structures1. The value of this attenuation became the Hounsfield Unit (HU).
With a baseline of 0, being the density of pure water, the Hounsfield scale can be both negative and positive. The higher the value, the more dense the matter.
Once calculated, radiology images in the axial, coronal and sagittal planes are coloured in greyscale based upon their HU value. Bone density is very high and is therefore whiter than low-density soft tissue such as skin, fat and even the air in the lungs.
What are windowing settings?
In a medical / radiology setting, Windowing relates to the grey-level mapping/contrast of a CT image and is a way of changing the Hounsfield Units/CT numbers to highlight particular areas within the medical image.
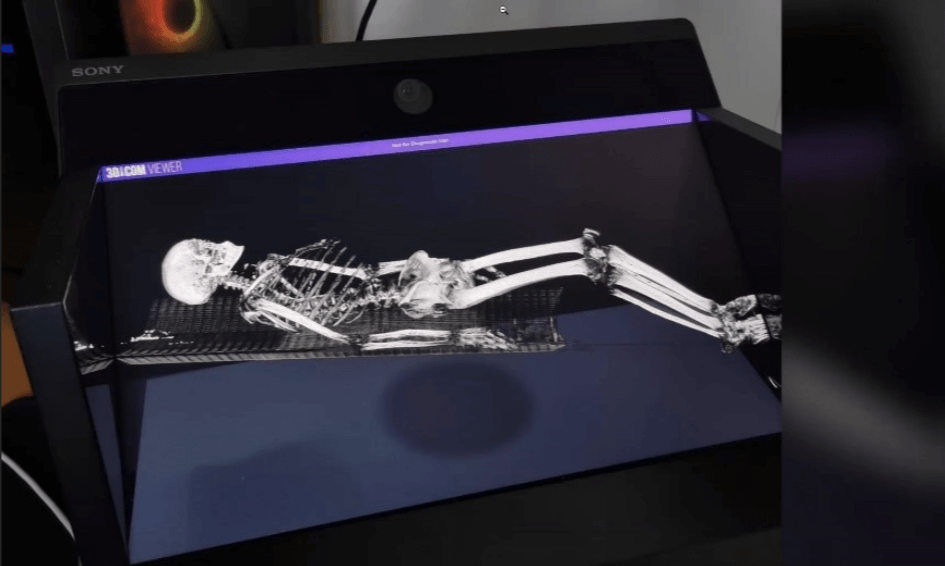
By changing both the Upper & Lower threshold values on the Hounsfield scale, it is possible to occlude (hide) certain features from the CT image, such as ‘removing the skin’ or hiding the skeletal system. View our short video below to see how easy it is to change the Upper & Lower threshold values in our DICOM Viewer. Note, the video is recorded in 3Dicom R&D but is applicable to all tiers.
How to change Hounsfield values in 3DICOM Viewer?
As seen in the video above, the process for changing the CT hounsfield unit is very simple. Dragging the lower end of the slider to the right increases the lowest HU value visible, resulting in the occlusion of low-density tissue from the 3D render.
By reducing the upper HU value, this will have the opposite effect of removing the more dense anatomy which will result in the skeletal system being hidden from view and more focus being drawn to the soft-tissue areas and organs.
We recommend experimenting with the Windowing Settings, including the HU values threshold bar and the Clipping slider to understand how you can actually visualise more from your scans by hiding less relevant anatomy to your use.
Upgrade to 3Dicom Surgical or 3Dicom R&D for Advanced Hounsfield Unit Measurement with a Hounsfield histogram, CT HU pointer and the ability to use presets with colour to showcase certain structures.
Disclaimer: The 3Dicom software is NOT a medical device and must not be used for treatment or diagnosis. The information contained in this article is informational only and whilst best efforts have been made to ensure the accuracy of this article, you should confirm the information provided with other sources. 3Dicom and Singular Health are not liable for any direct or indirect consequences arising from the application of the information provided.